I’ve been interested in doing some small home renovations. Lack of knowledge, tools, and desire to use all my weekends all the time stop me from doing anything larger than a small project.
The downstairs was renovated recently, and the downstairs bathroom painted. Sue and I decided after the fact to replace the tap on the sink to something newer. The old one didn’t work all that well, leaked, and was going to get expensive when buying replacement parts.
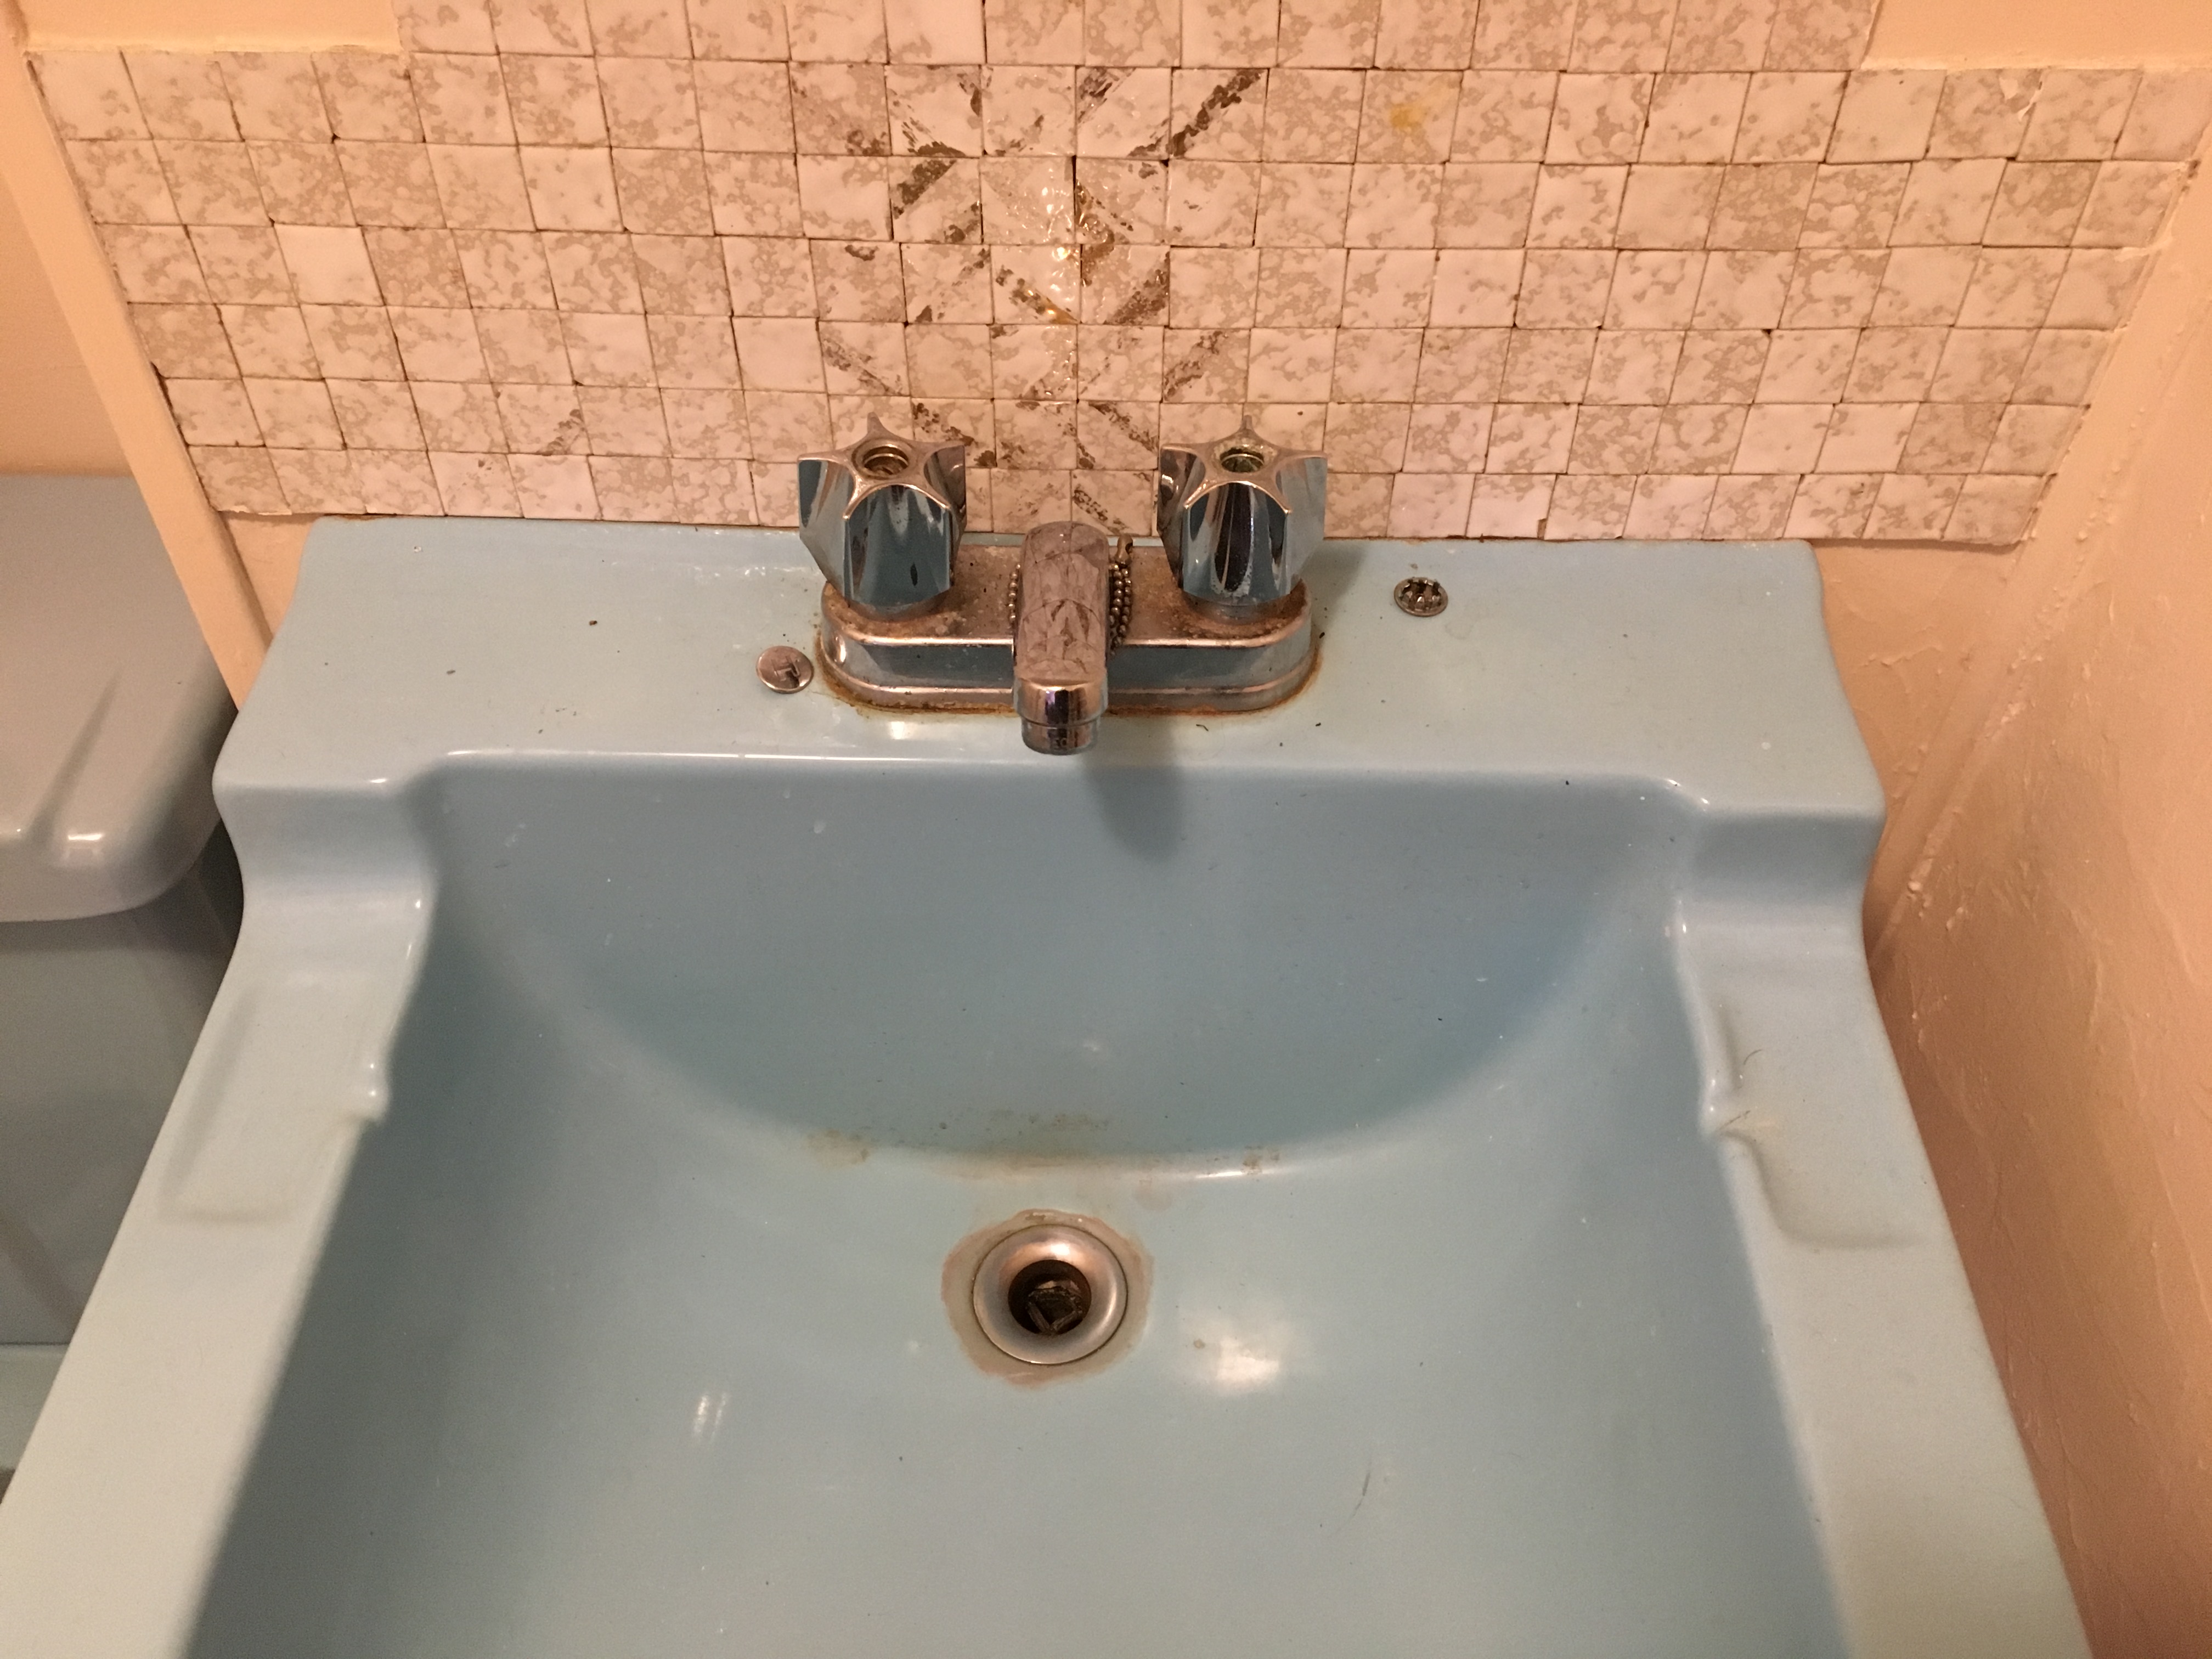
We bought a new faucet at Home Depot and I set about replacing the old one. Here is what we started with.
The first step is to take the old faucet off. Sure, no problem right?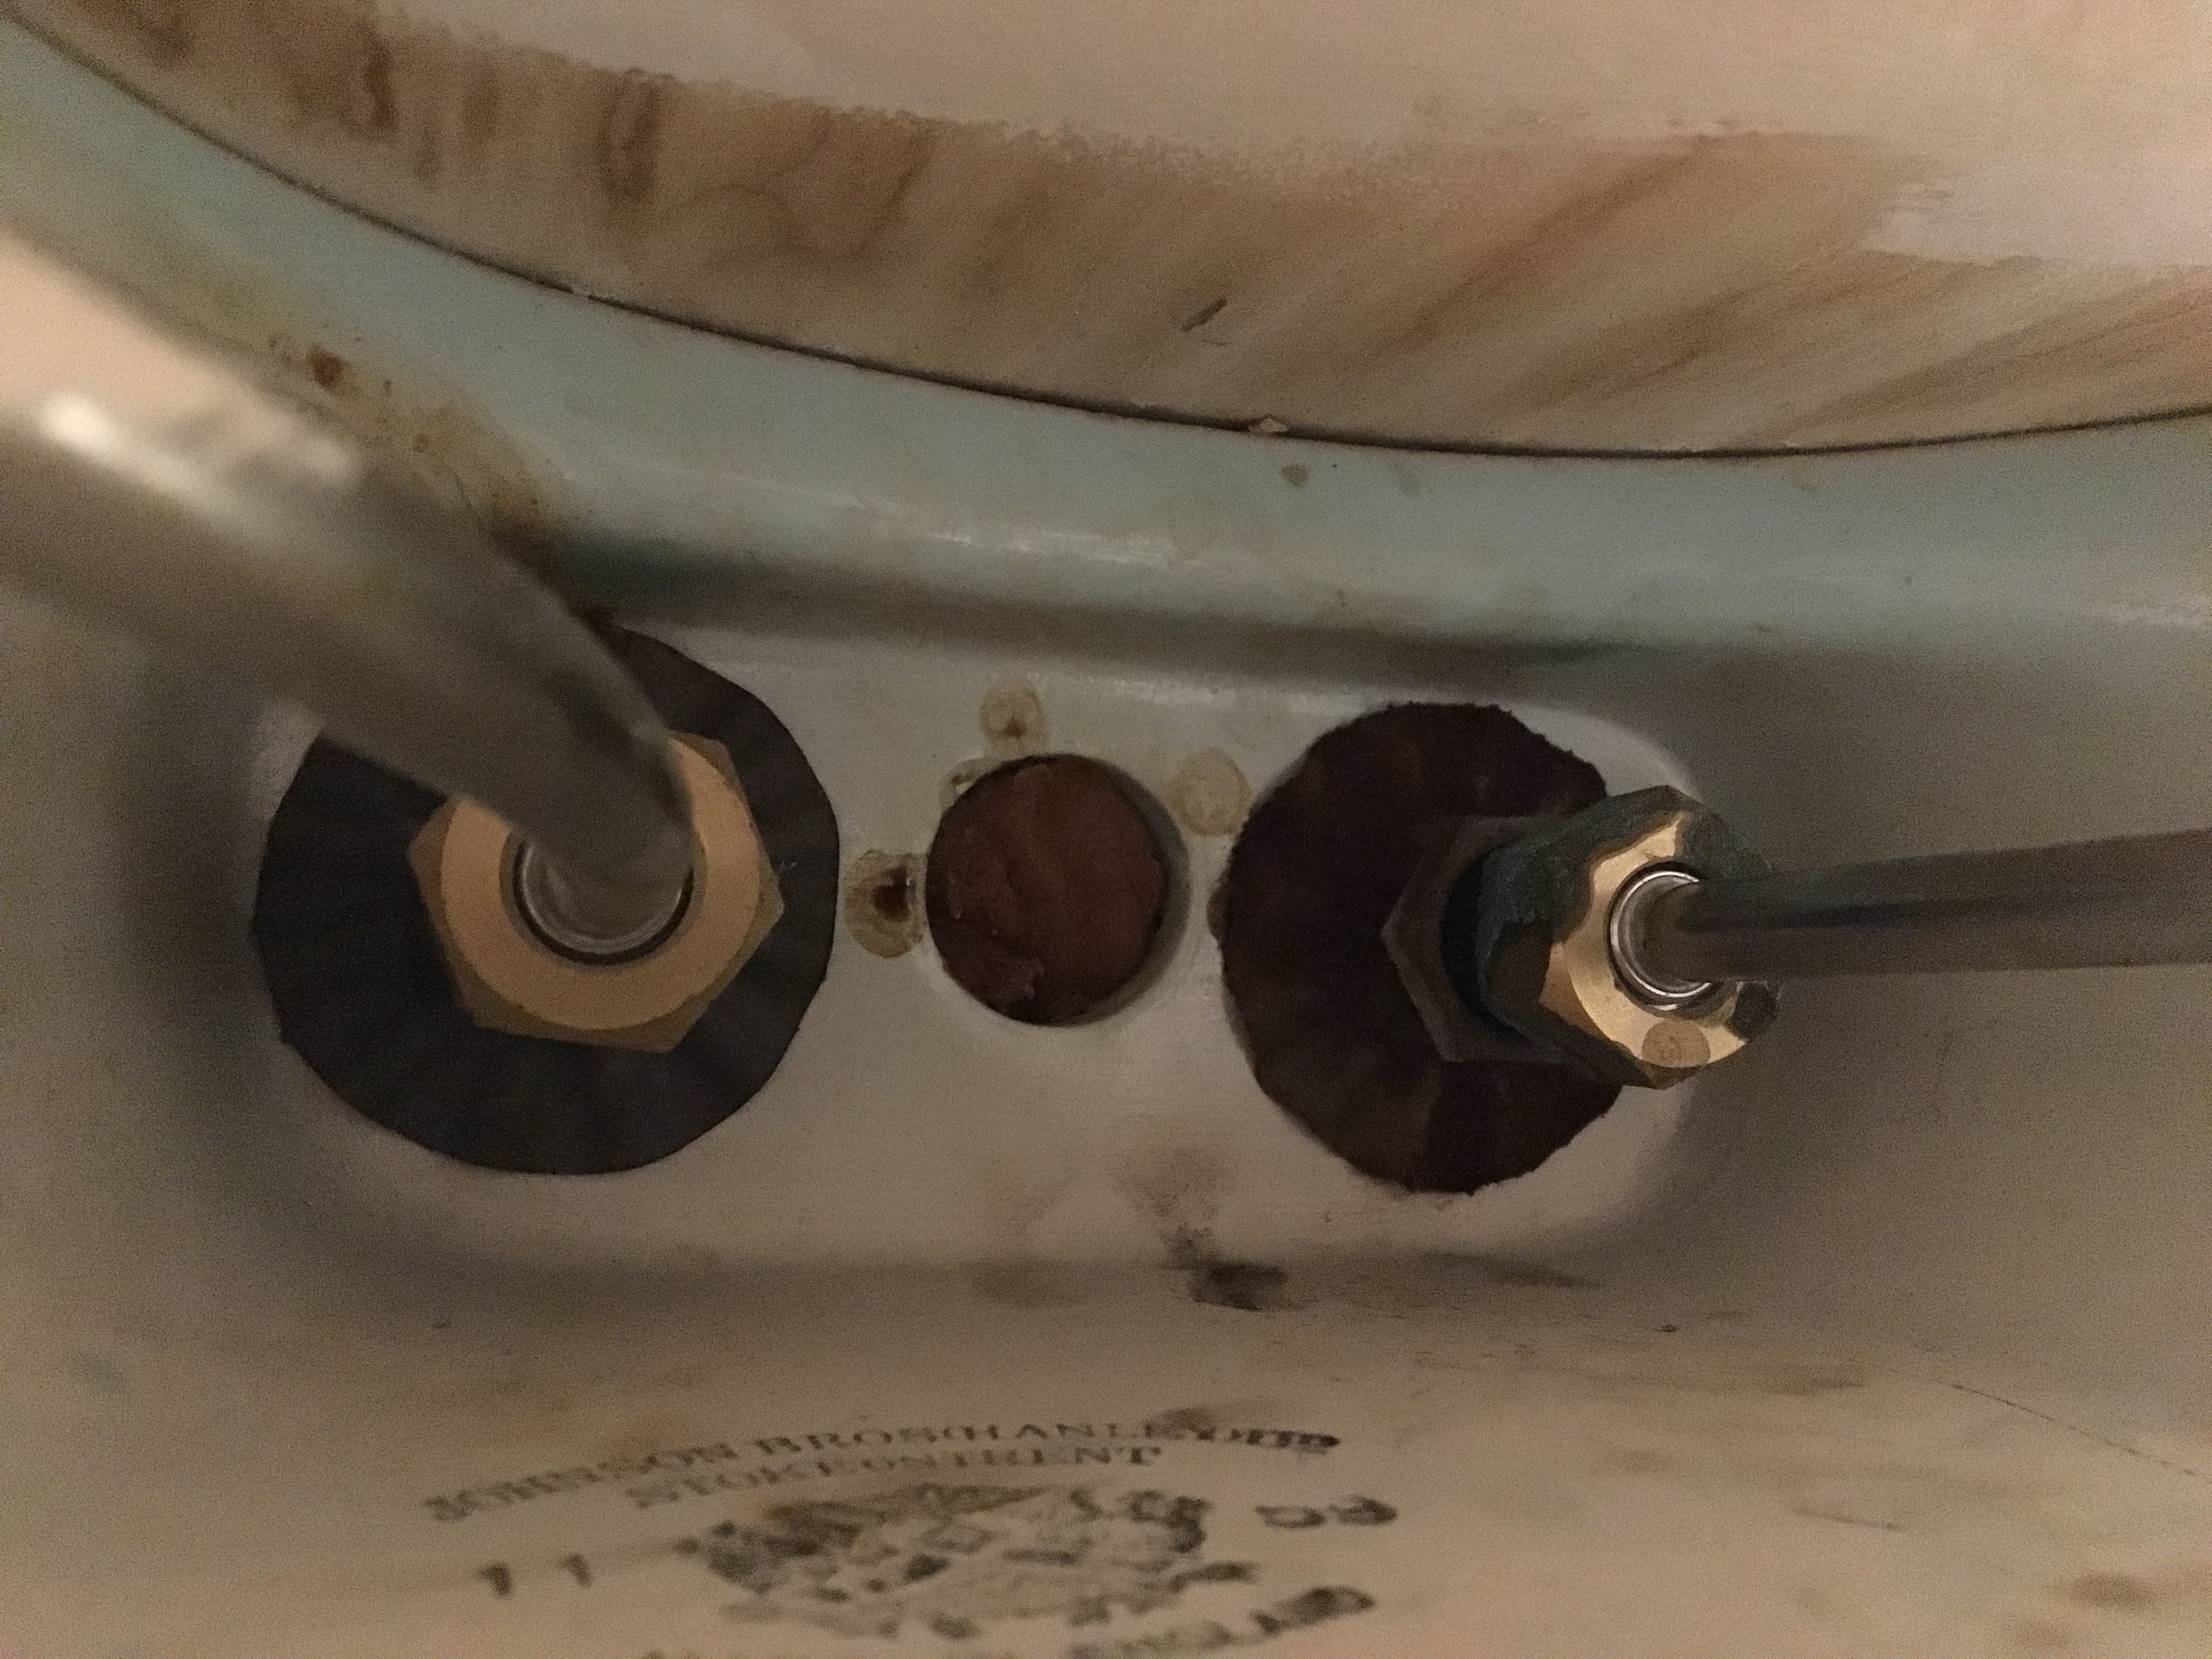
One question, how do I fit a wranch in there? Easy answer is you don’t. Instead you take the sink off the wall (this sink is wall attached). Hitch number one can be seen above in the first picture. See all those little tiles that go right down to the edge of the sink? Well, they have to come off.
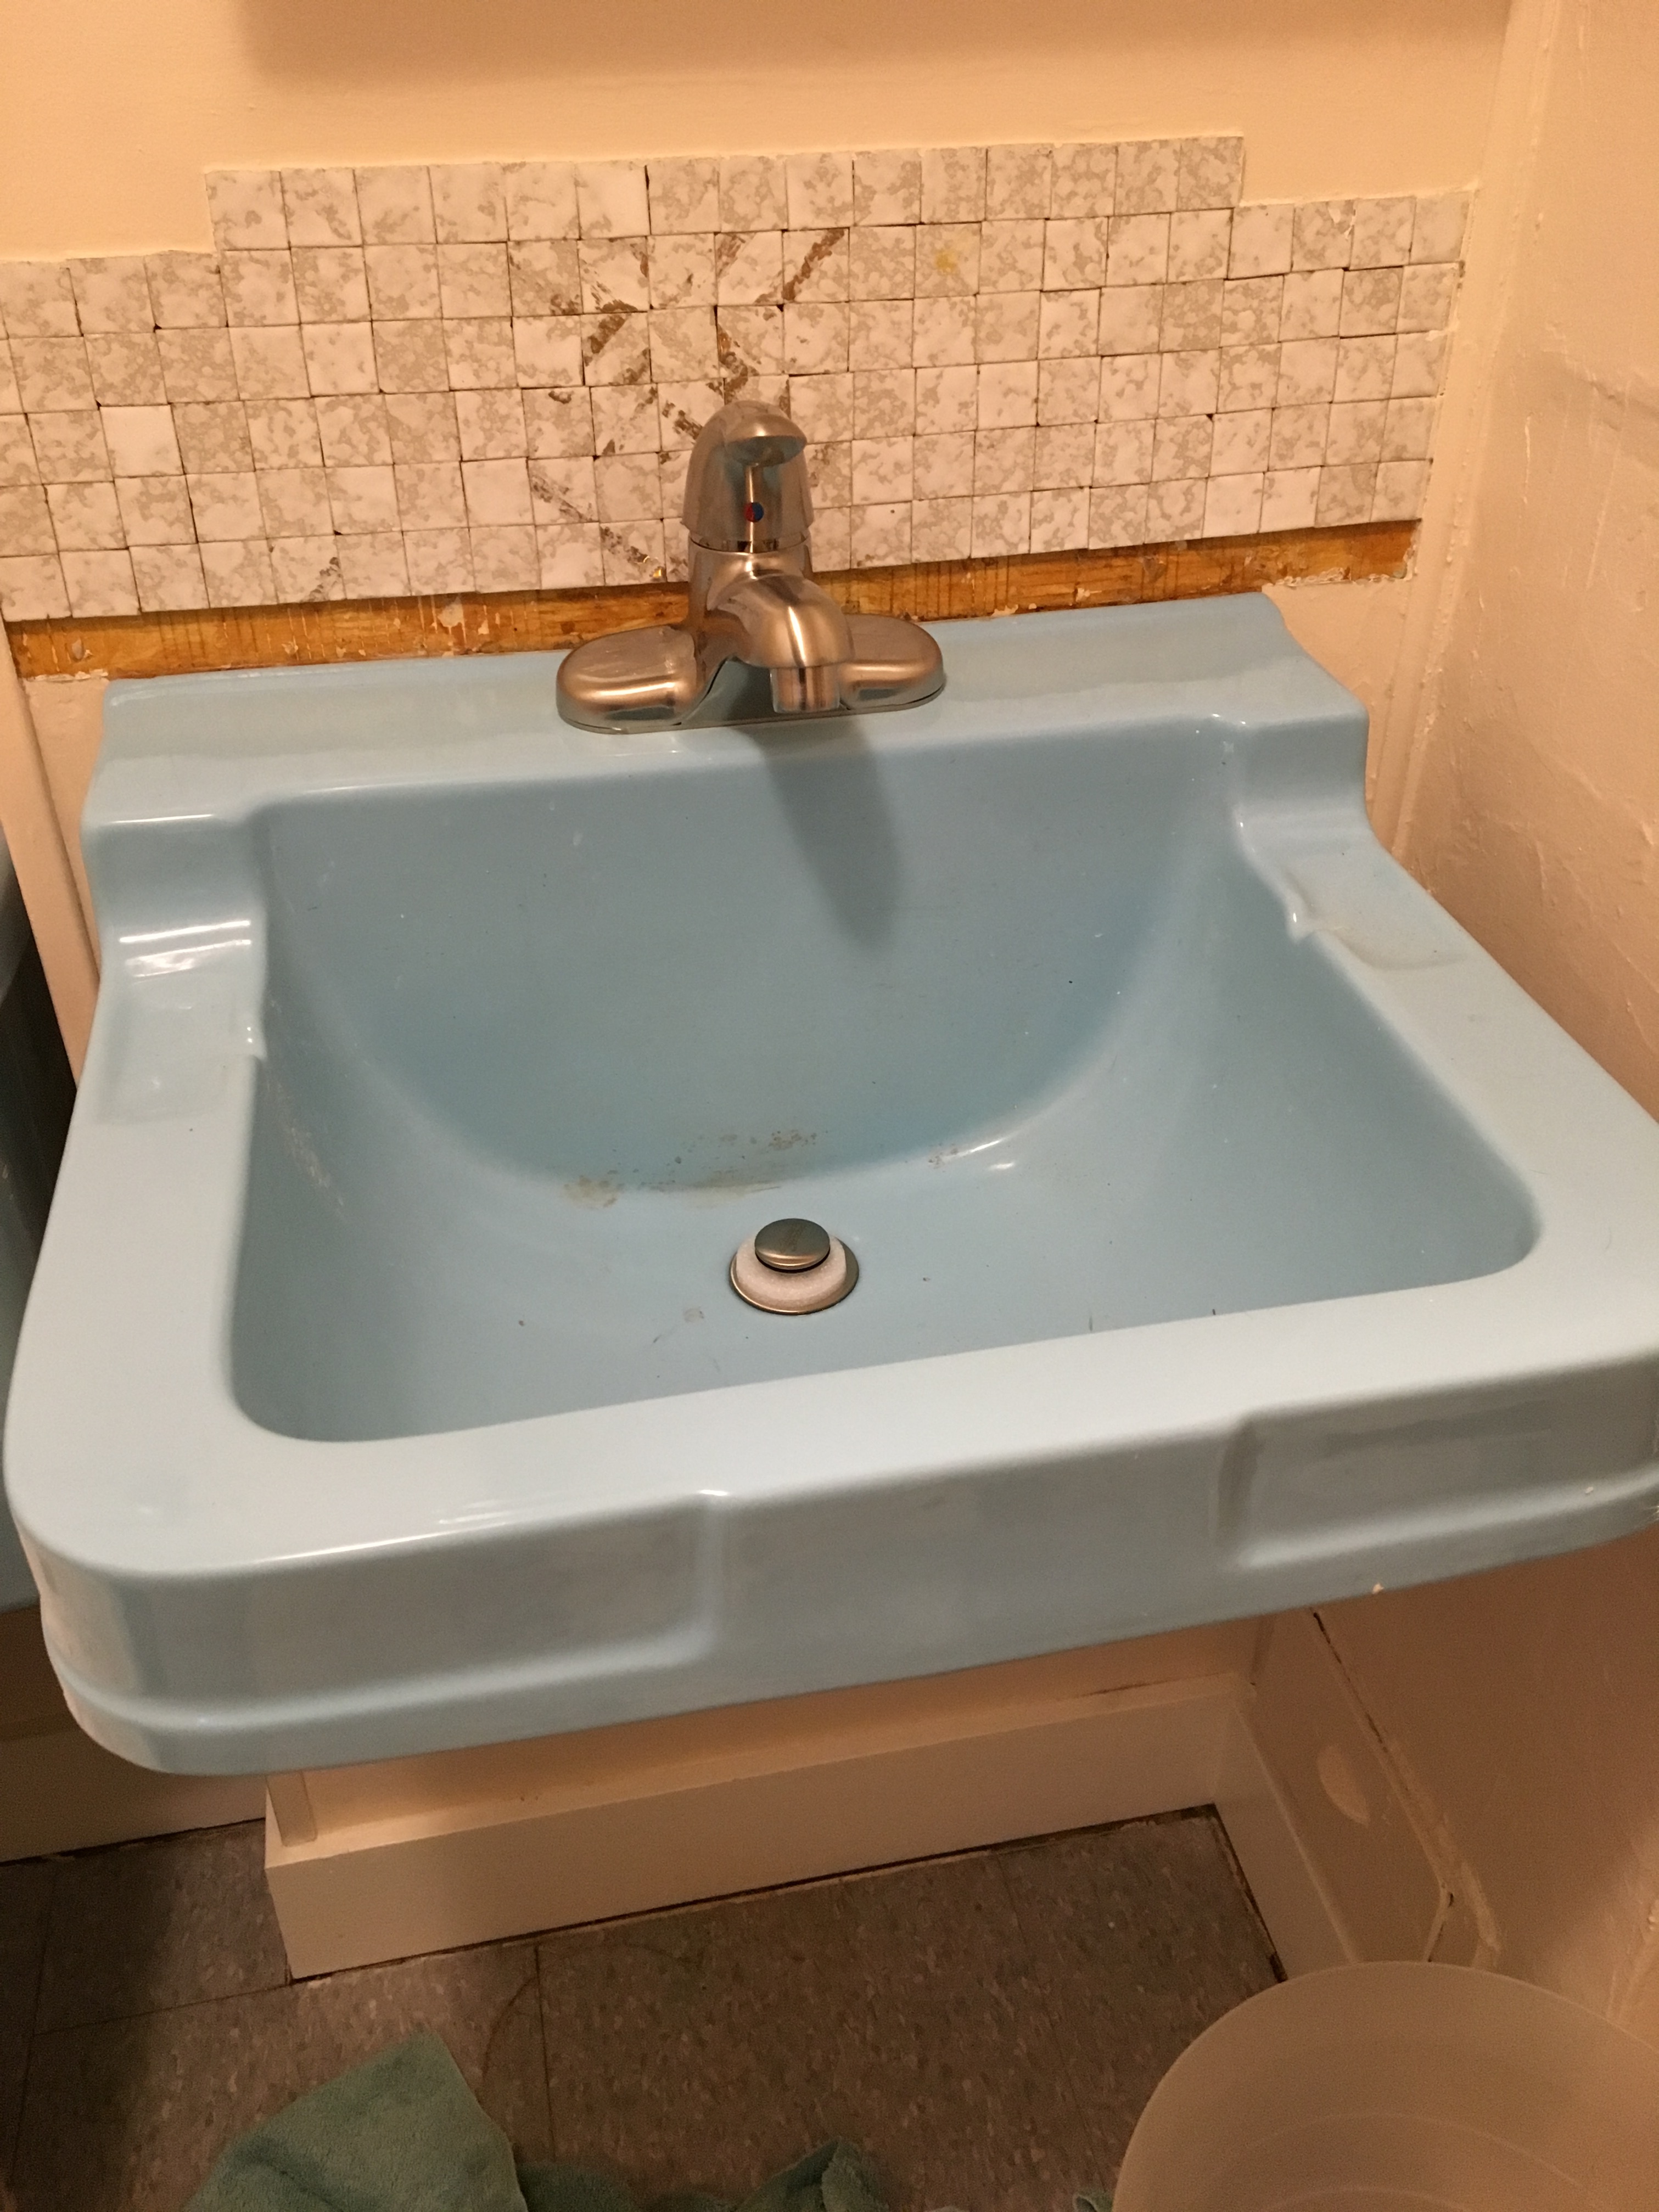
One row off and the sink came off the wall easily.
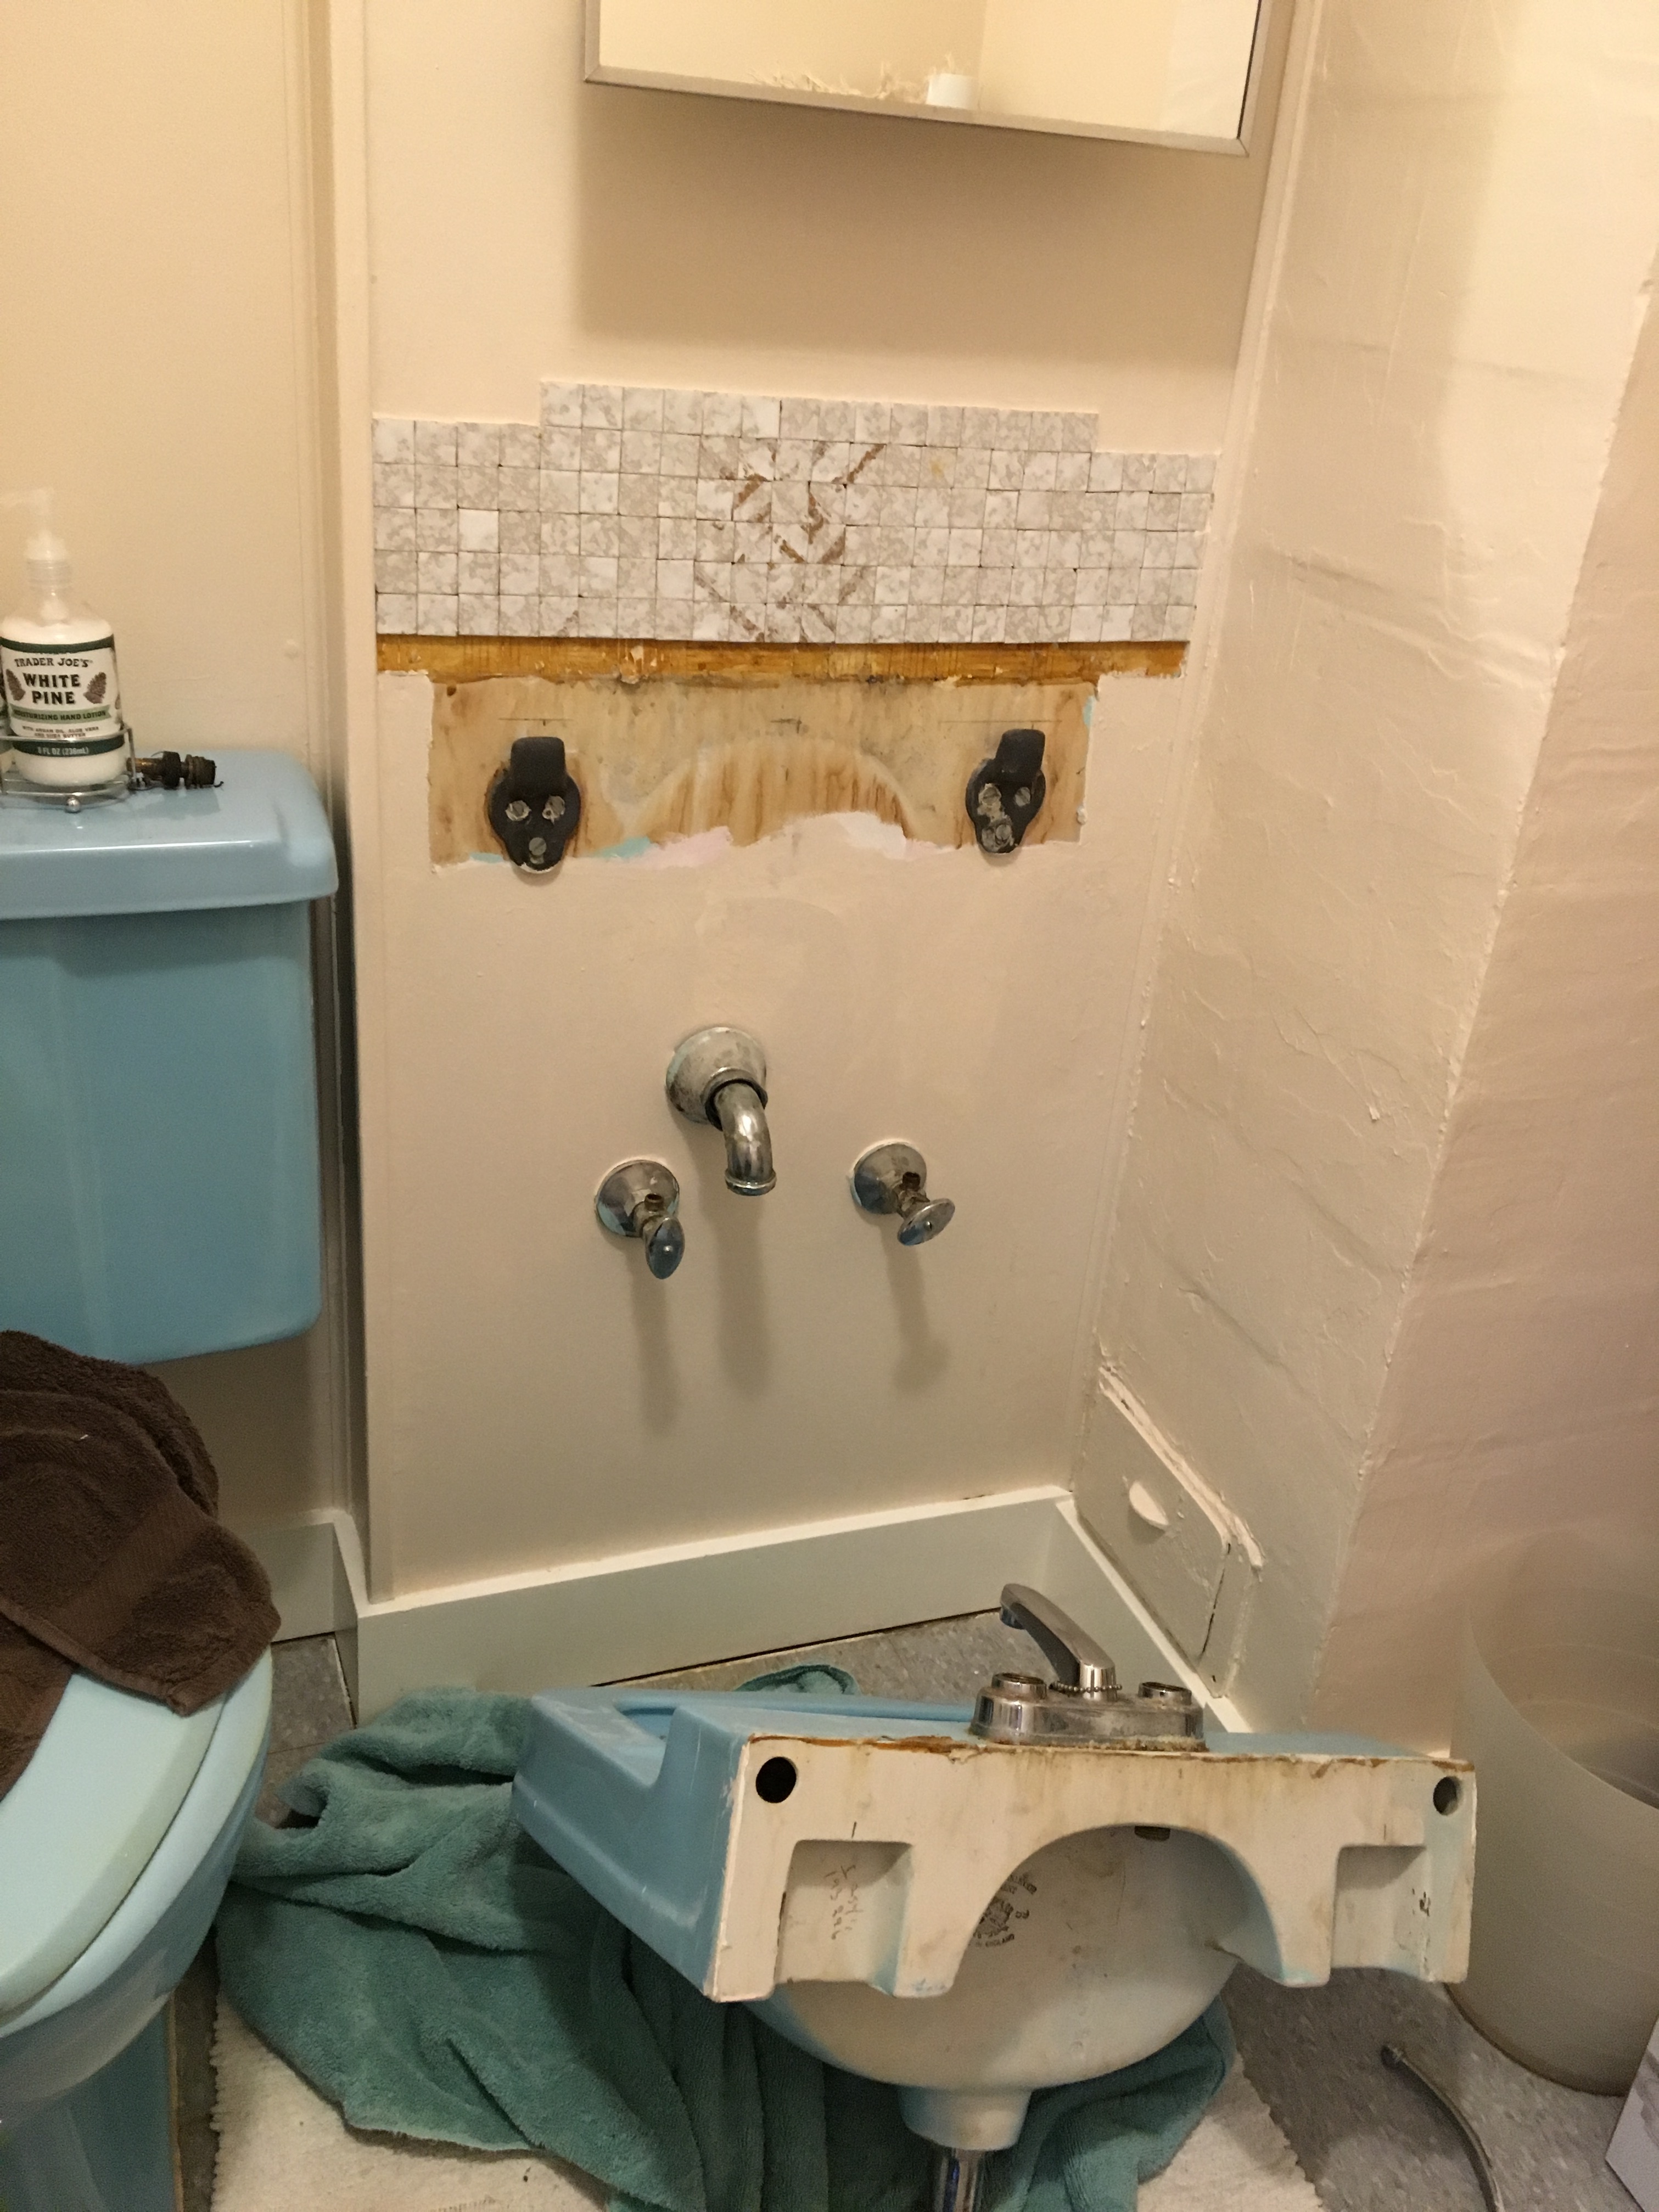
Of course, when puting the final assembly back together, I really didn’t want to glue those tiles back on, so instead I took all the tiles off. The glue used made a mess of the wall, so out I went to buy some spackle, and some other tools. I also bought some new hardware for the sink’s p-trap and water lines.
Turns out the water lines I bought were way too long. Returned those, got the proper ones, patched up the wall. Since we just had the bathroom and basement painted I went to grab the leftover paint to match up this area, but wouldn’t you know it, I couldn’t find the can. I guess the painter didn’t have any leftover.
Out to the hardware store where I bought the paint. They had to hand tint my 1 quart can since the color recipe was only for gallon cans. After a few issues with the p-trap, I got the whole thing assembled, cut to sit, resituated and voilá a new faucet.
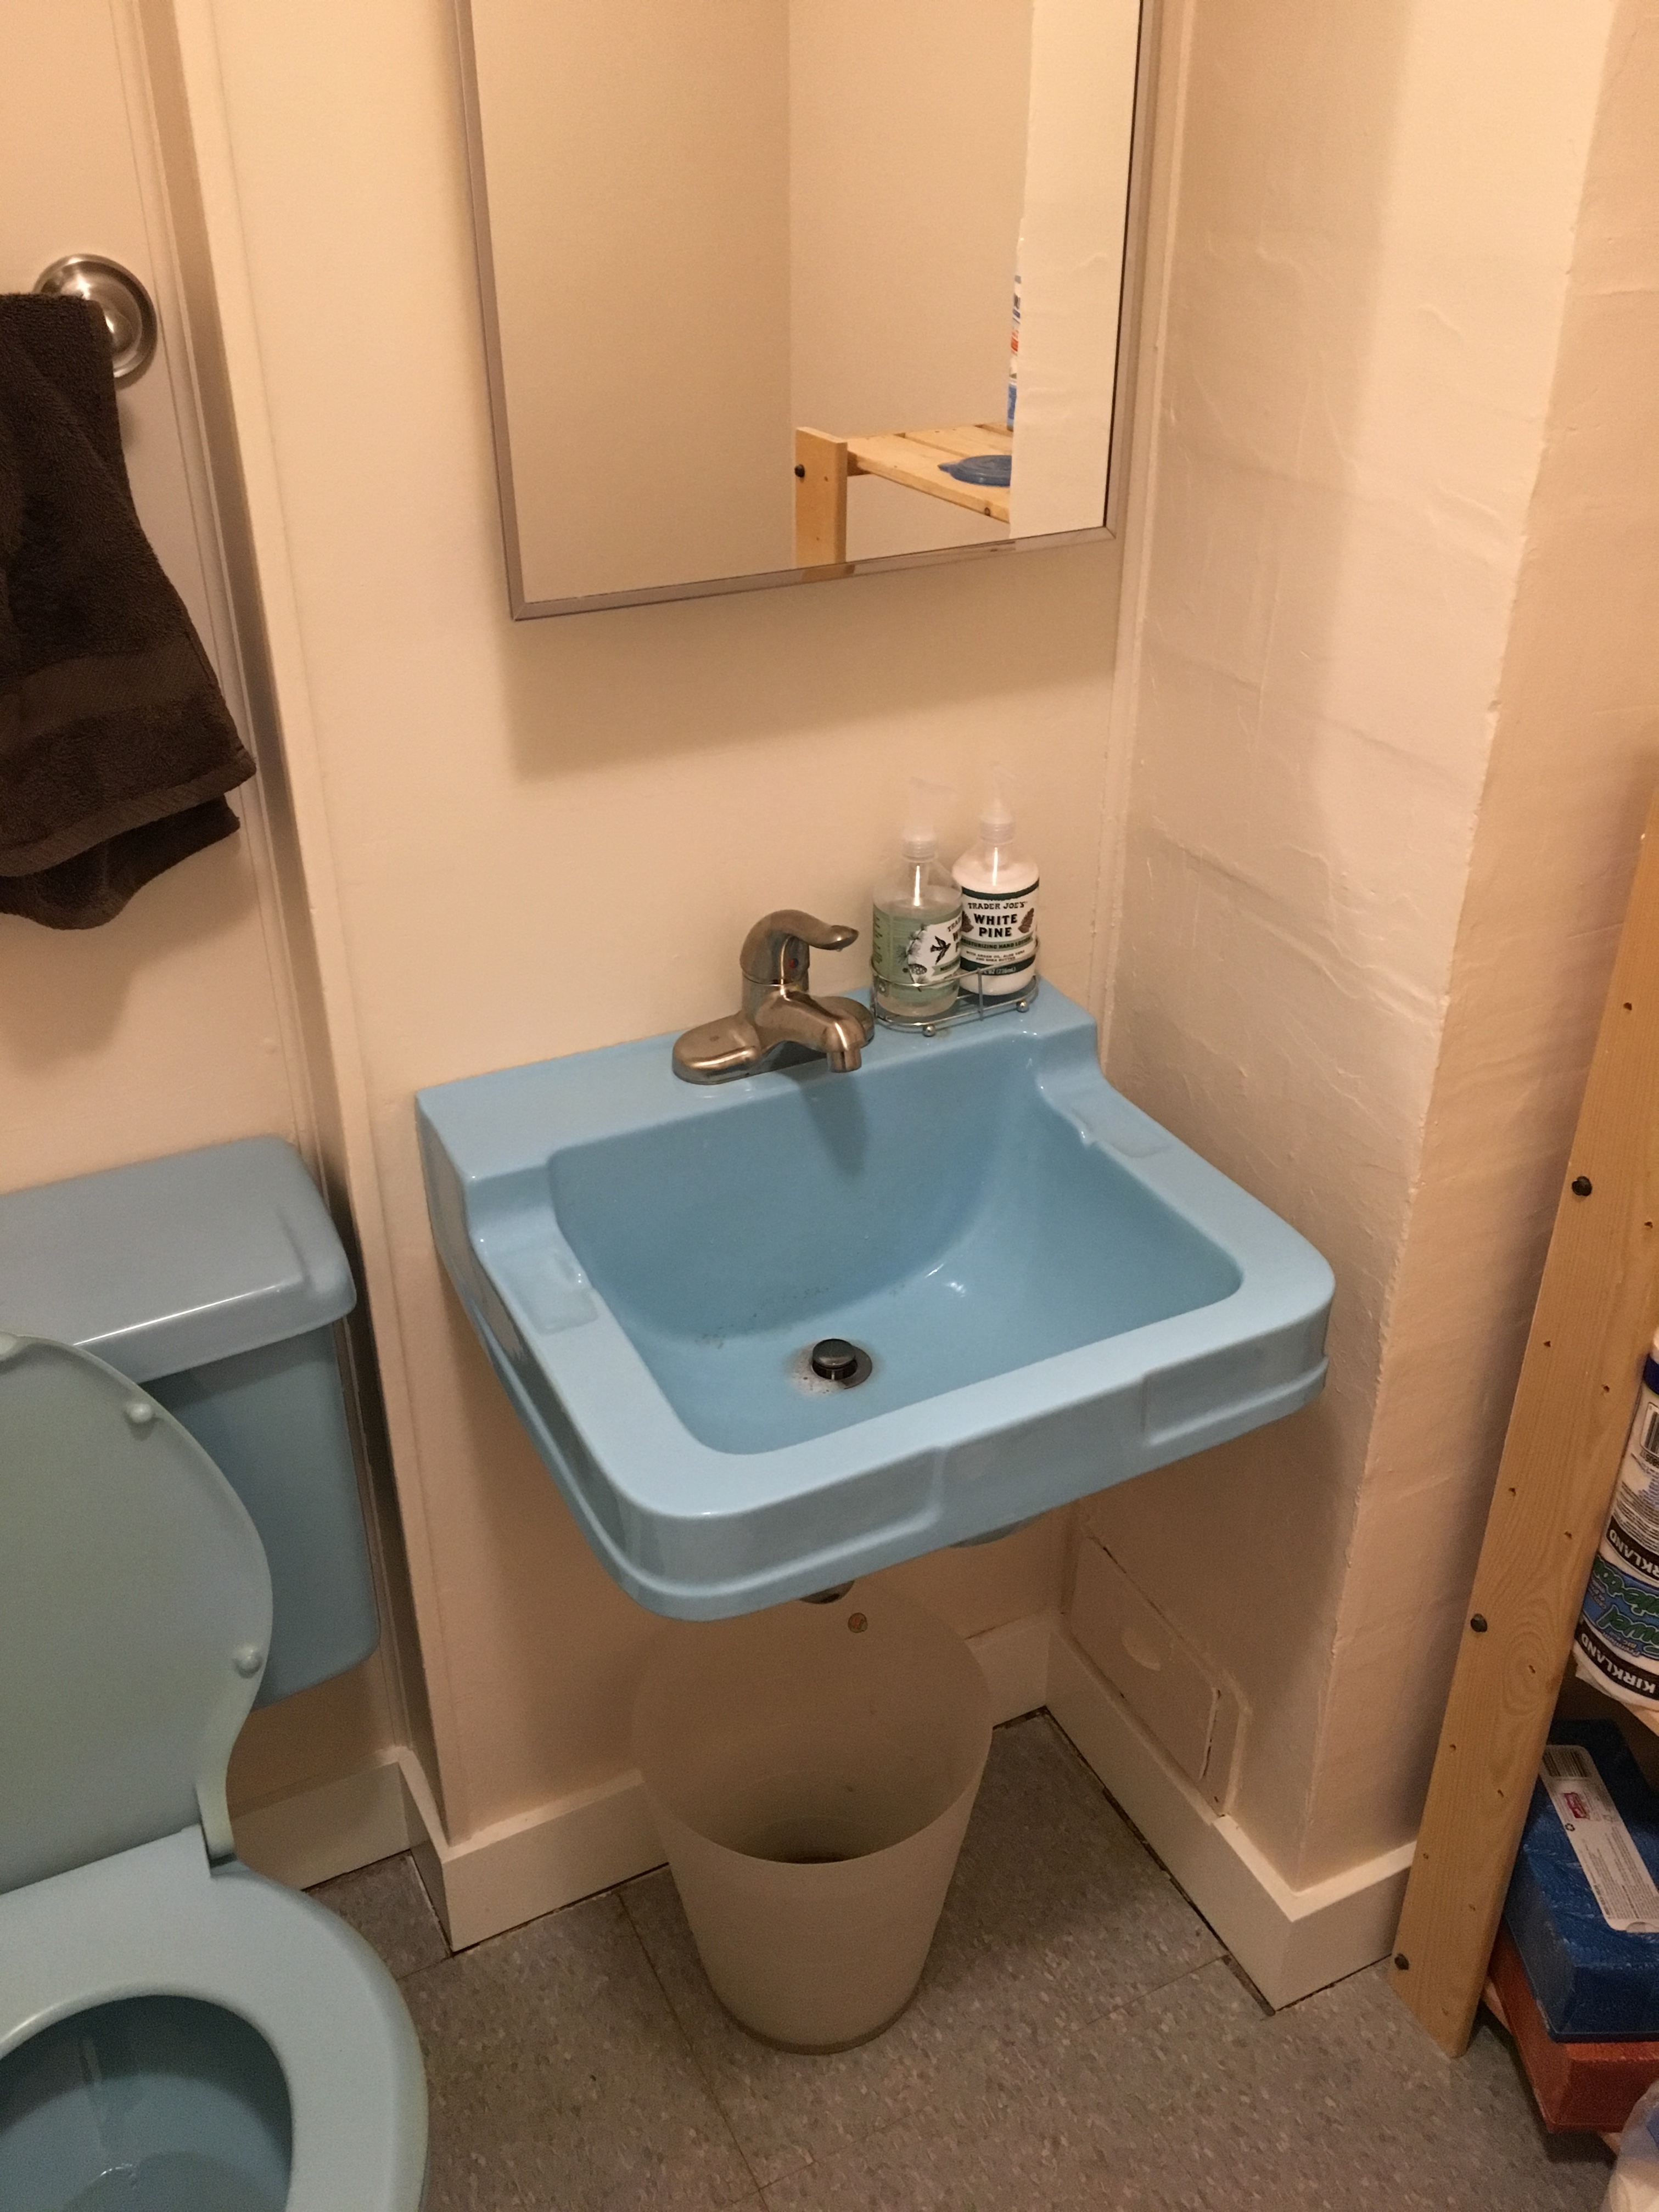
Only took 5 trips to the hardware store, and about 10 days/evenings of time. This is why I don’t tackle larger projects. 🙂


